5.创建公用的类库
约 515 字大约 2 分钟
2024-12-10
一、创建类库
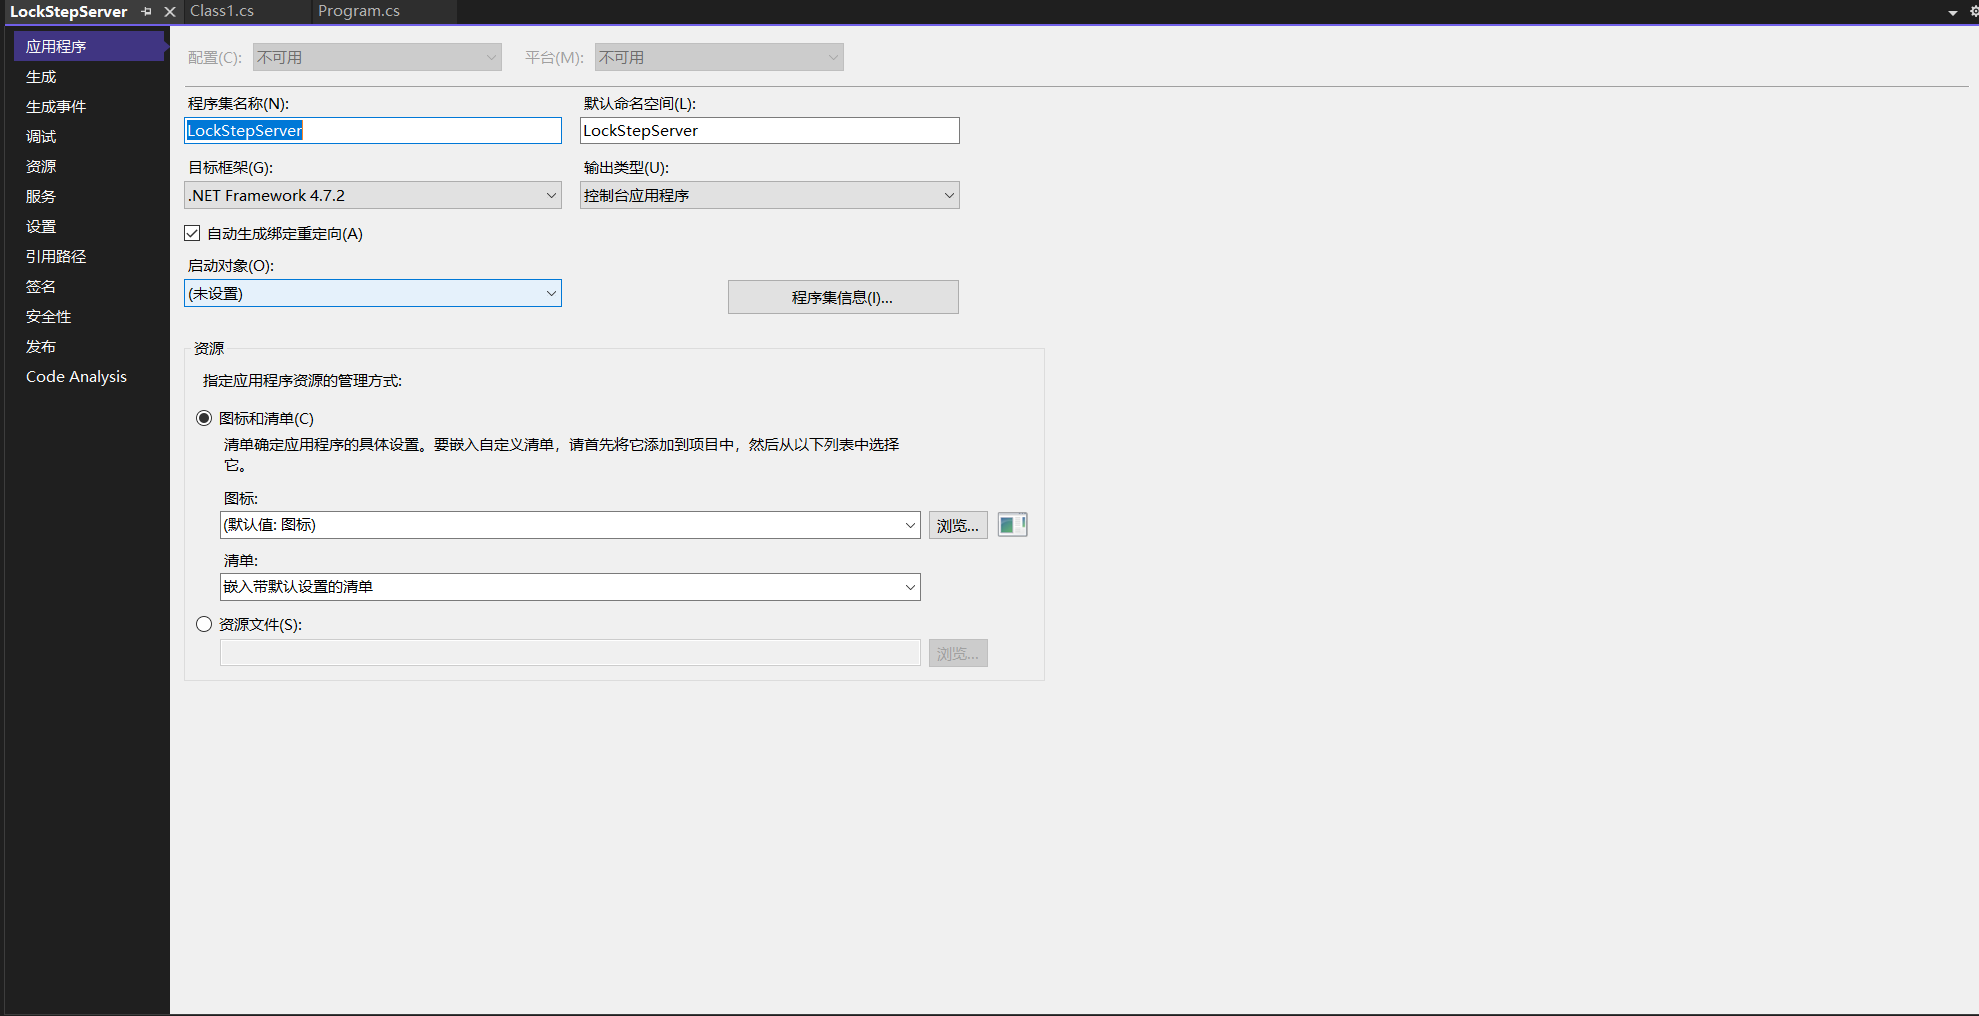
有些类,比如工具类、配置啥的,在unity客户端和服务端是用的是一样的,那么就没必要两边都写了,到时候只需要从服务端导出.dll类库,然后就可以导入unity中了。在LockStepServer项目中右击查看属性,查看目标框架是什么,后面类库要和这个框架匹配,不然是用不了的。
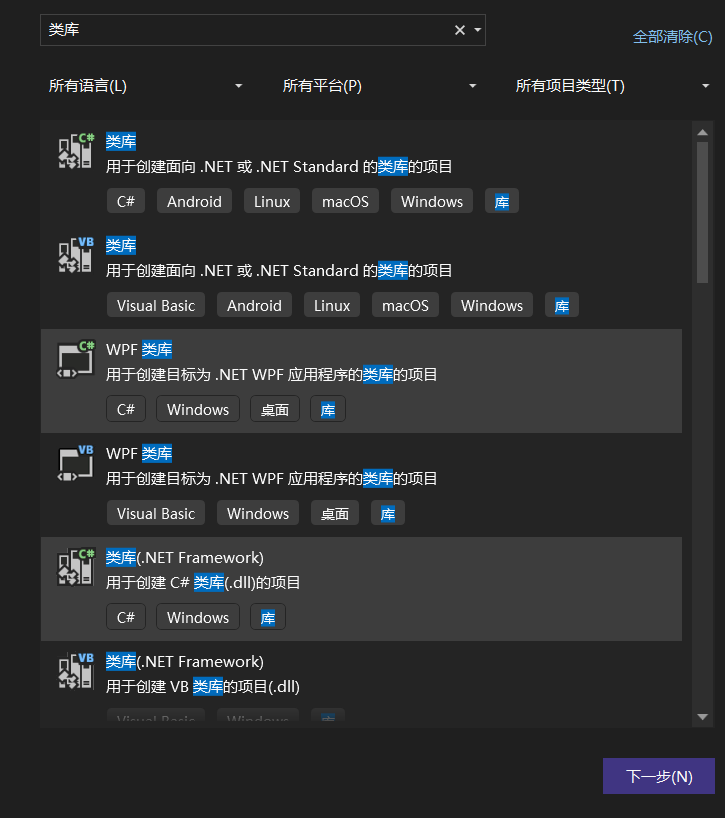
 右击解决方案 => 添加 => 新建项目。搜索类库然后下一步创建,我这边使用的版本是.NET Framework 4.7.2。

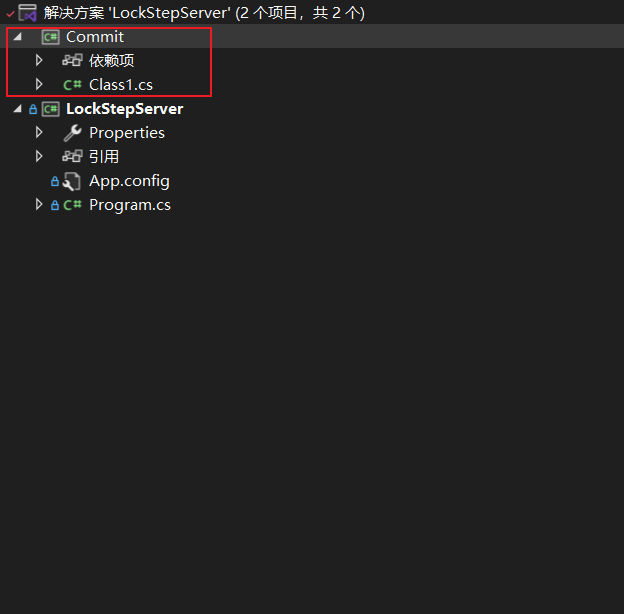
在Commit中的创建Config/NetCofig.cs,用来配置一些网络信息。
namespace Commit.Config
{
    public class NetConfig
    {
        // 服务器tcp的端口号
        public static int TCP_PORT = 5000;
        // 服务器udp的端口号
        public static int UDP_PORT = 12345;
        // ip地址
        public static string IP = "127.0.0.1";
    }
}
二、使用类库
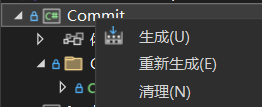
右击Commit => 重新生成,然后在文件夹中找到Commit.dll文件。
右击LockSetpServer项目中的引用,在浏览中选择Commit.dll文件
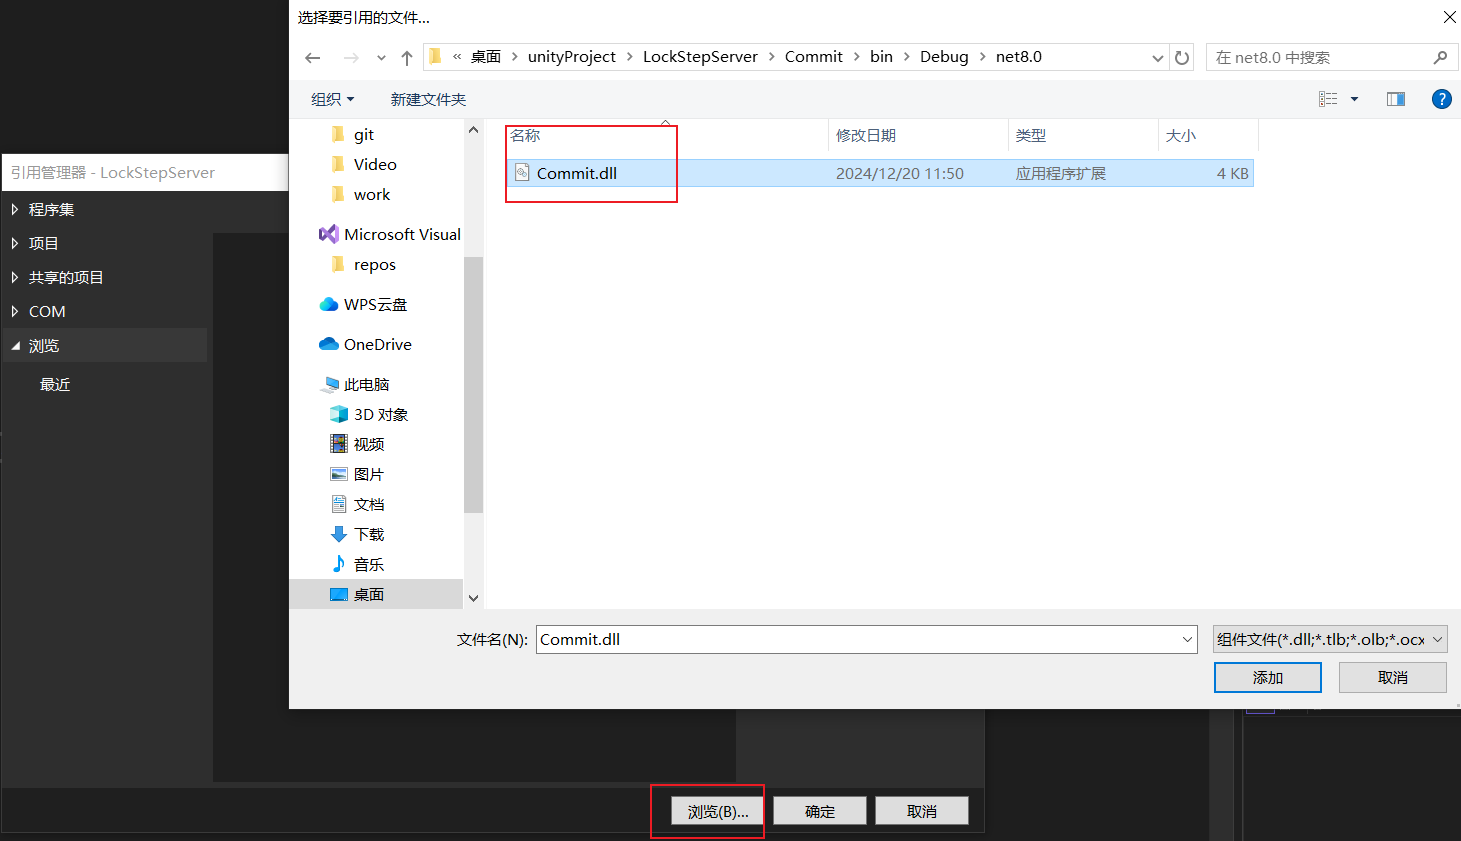
把UdpServer.cs中的一些网络配置改为Commit中的NetConfig.cs中的配置。
private static UdpClient udpServer = new UdpClient(NetConfig.UDP_PORT);
// 用来存放客户端的连接
private static List<IPEndPoint> clients = new List<IPEndPoint>();
public static void Start()
{
    Console.WriteLine("UDP 聊天服务器已启动,等待消息...");

    IPEndPoint remoteEndPoint = new IPEndPoint(IPAddress.Any, NetConfig.UDP_PORT);
    ReceiveMessages();
}
三、unity使用类库
在unity项目中右击新建一个文件夹Plugins,其中放插件相关的文件。这个是特殊文件夹,所以必须要为这个名字。再把Commit.dll复制到该文件夹中。
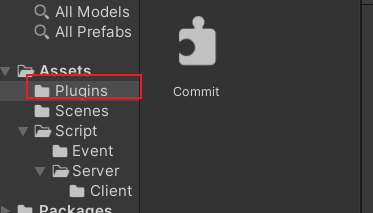
哪里用到了配置信息就在哪里修改。
// 发送给谁,
private IPEndPoint serverEndPoint = new IPEndPoint(IPAddress.Parse(NetConfig.IP), NetConfig.UDP_PORT);